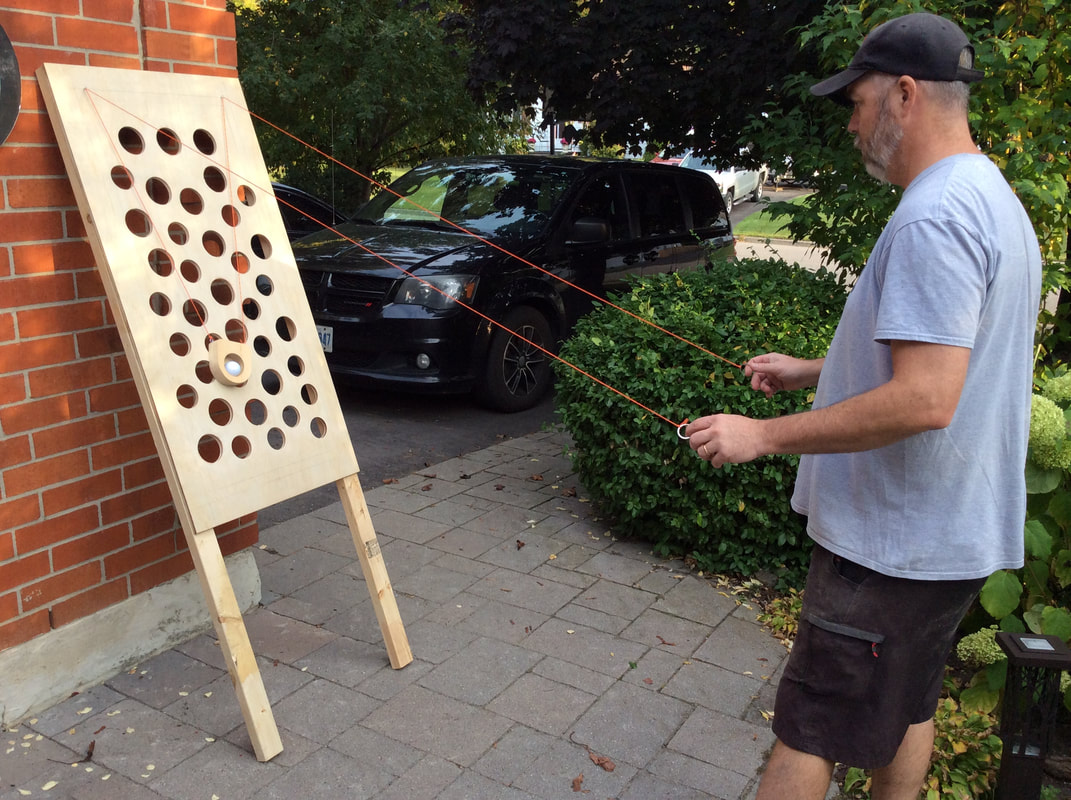
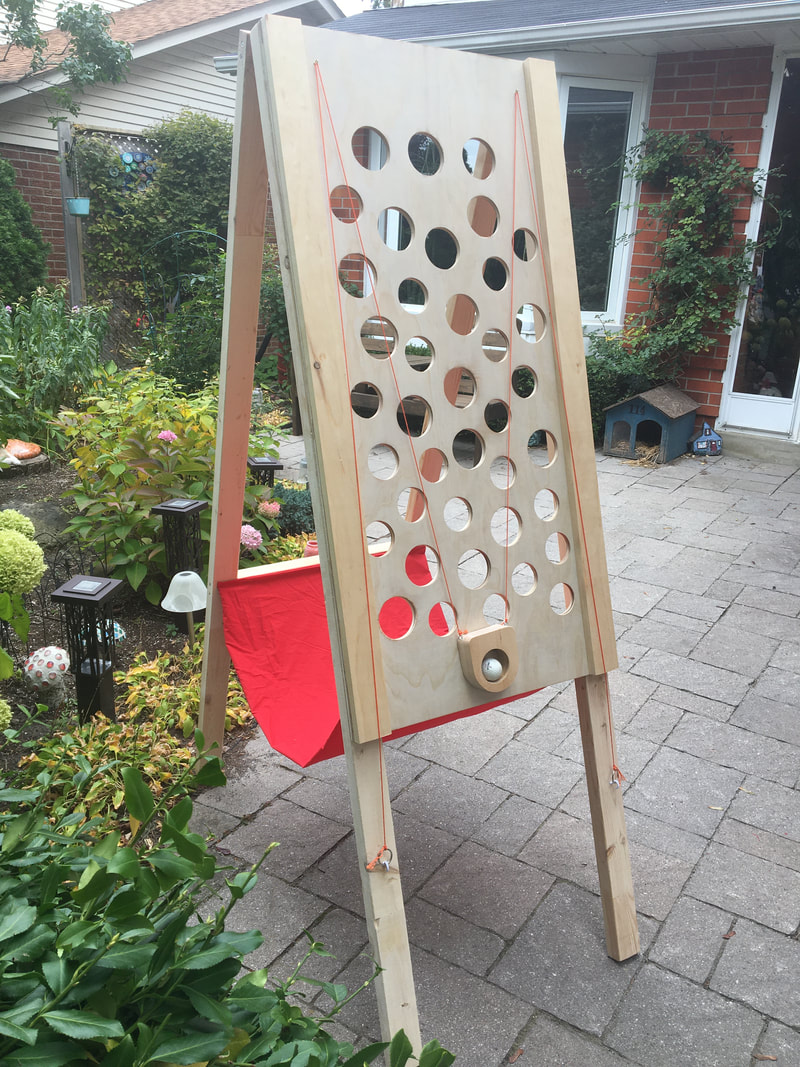
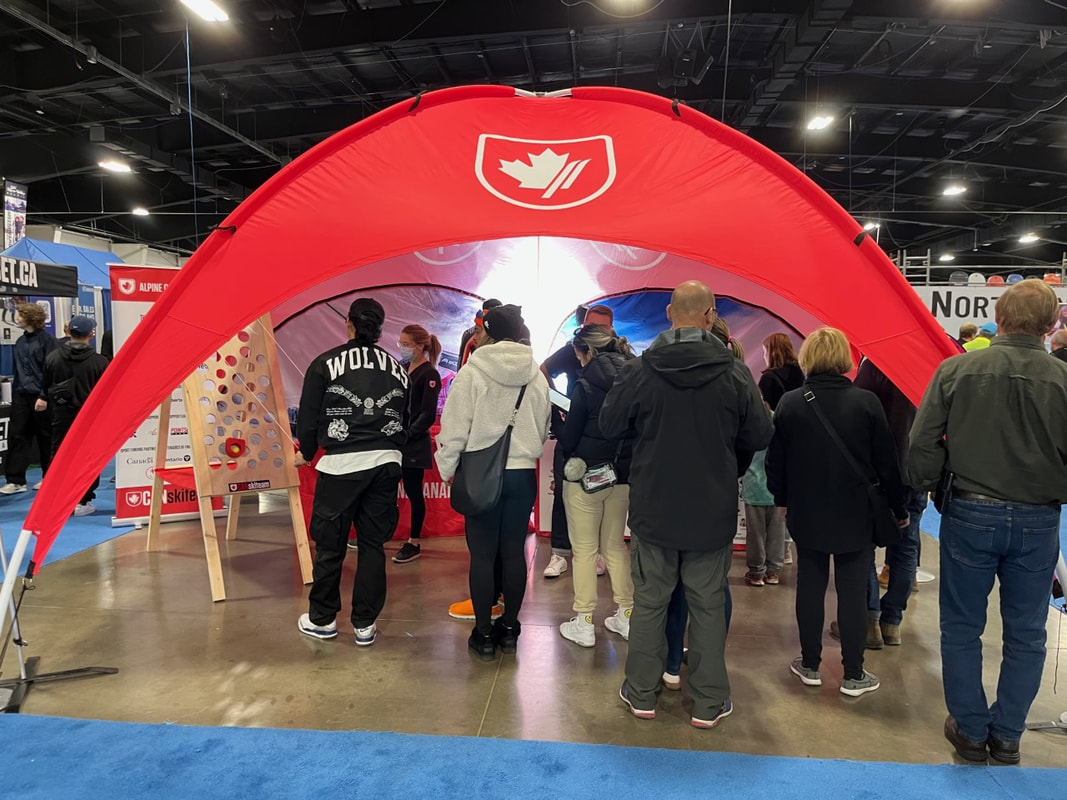
 I had a request last month to build a wooden carnival style game for Alpine Canada for an event to encourage people to come to their tent and learn more about the athletes on the Canadian Ski Team. Alpine Canada sent me a drawing to describe the game since none of us knew exactly what it was called. After a bit of research I found more information about the game and what it is called. Jeu Gruyère is like an enhanced, three-dimensional version of Chutes and Ladders mixed with Milton Bradley’s Operation game. But it’s more than that: when you add the ability to control the ball carrier using a pulley system, you get a game that’s a challenge to both mind and body. The game consists of an inclined wooden board with holes placed at intervals and a wooden ball carrier that the facile Gruyèrist glides over the board via a system of ropes and pulleys that works just like a two-axis X-Y plotter. If the player is good, he or she can guide the ball to the top of the board without the ball falling. (https://makezine.com/projects/the-game-of-jeu-gruyere/) I found a few DIY tutorials on how to build a the game (I found this tutorial the most helpful - Thanks Chico and Jo for sharing your design!) and started to plan out the build. I'll admit that my husband did most of the actual build. I love designing and prepping but I trust his attention to detail and proper use of power tools more than mine. After a few days we (he) had the game built. I sewed the ball catching blanket and added the painted mountain details and painted cradle and it was ready to go. We tested it out on family and found that even my young nephews could play it. After delivering the game I got some photos sent to me of the game in action at the event. I think it was a success!
0 Comments
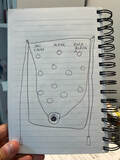
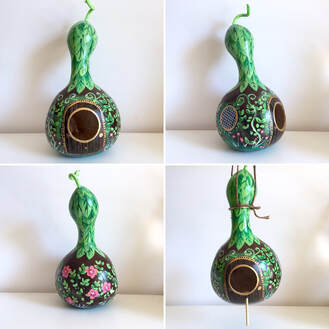 It's been years since I painted a gourd. I have several sitting around my studio and I finally picked one up and decided to make it into a birdfeeder. I have a new hole drill that I purchased for another project and it was perfect for cutting out the main hole. I then did a bit of design research and then went at it. It was very fun to just sit and work away at it over a couple of days. Can't wait to see what the birds think of it next spring. 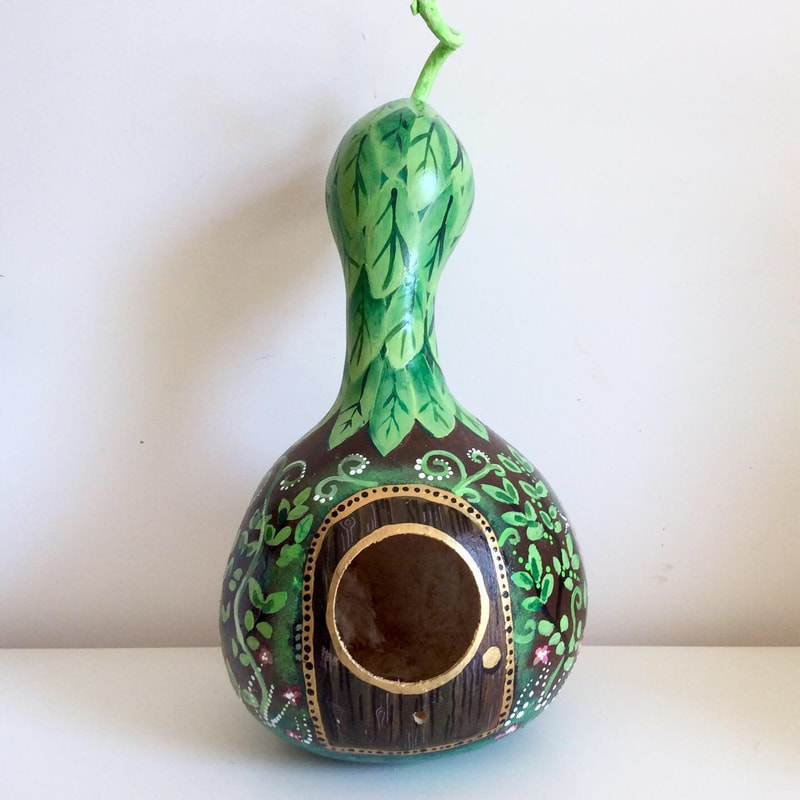 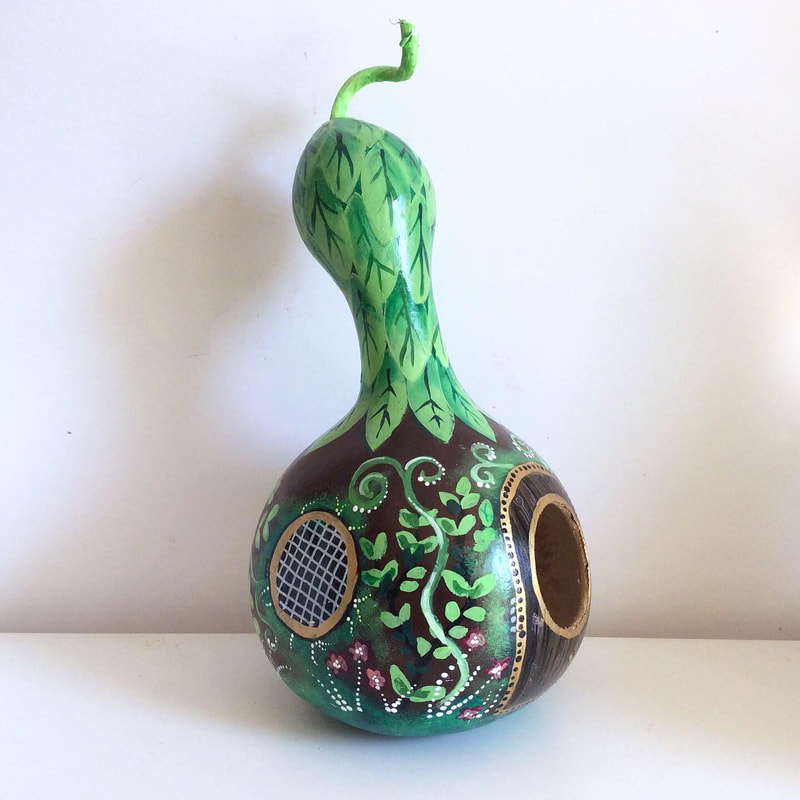 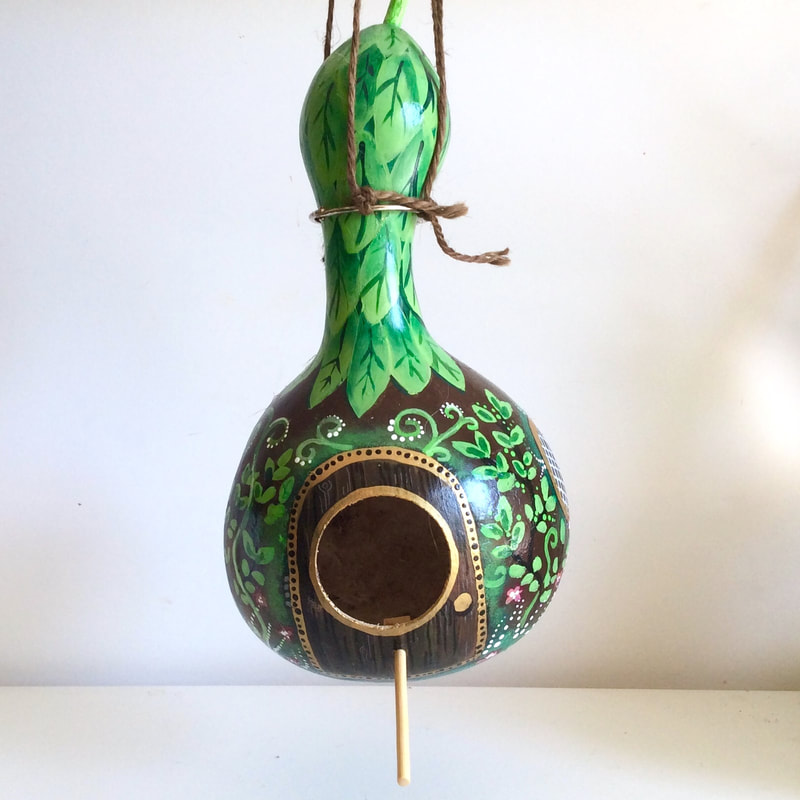
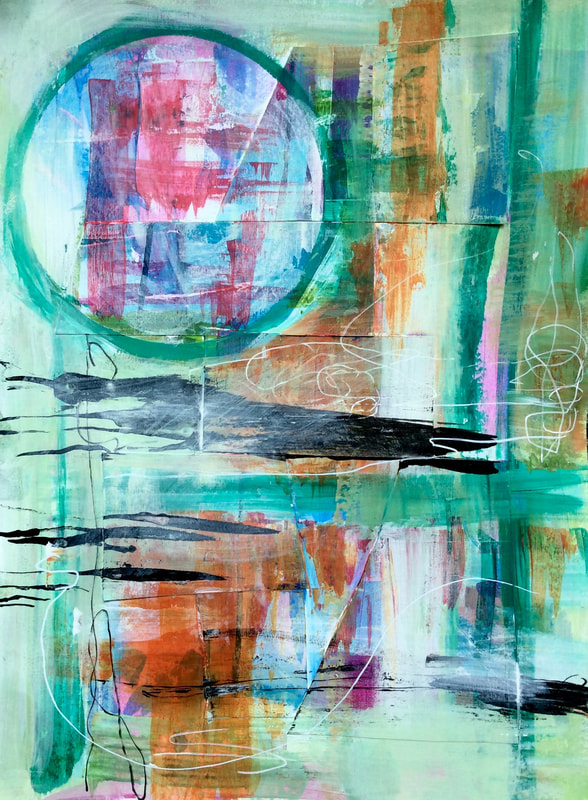
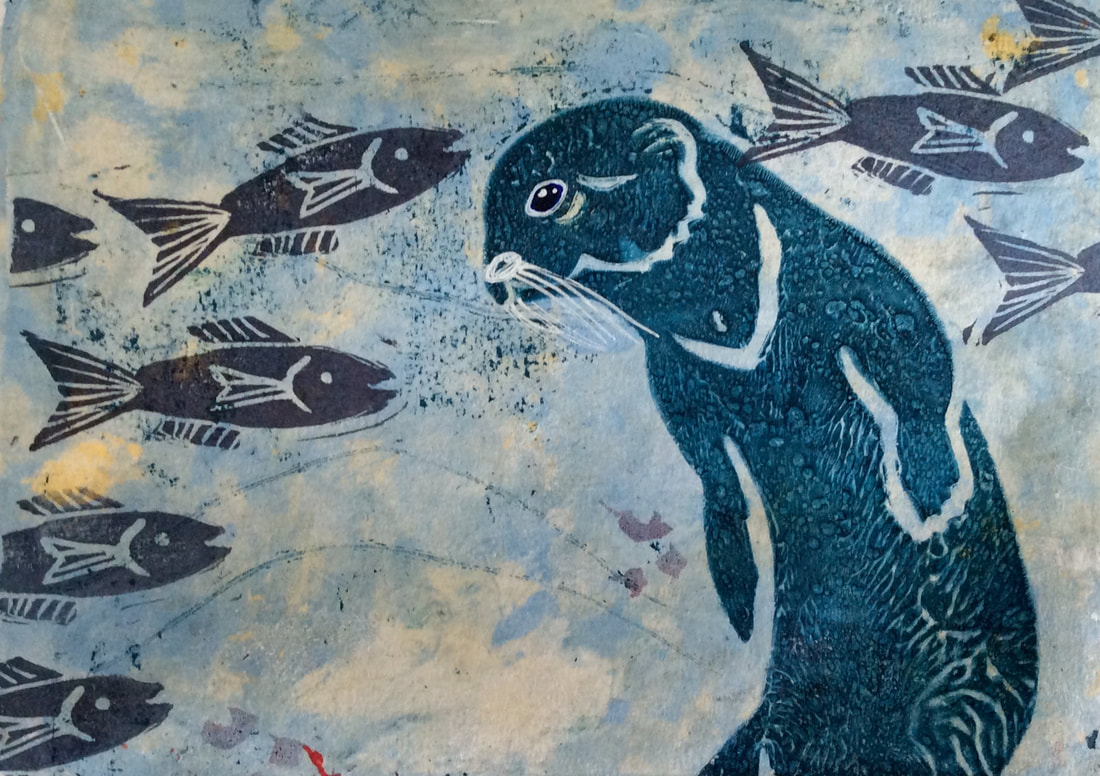
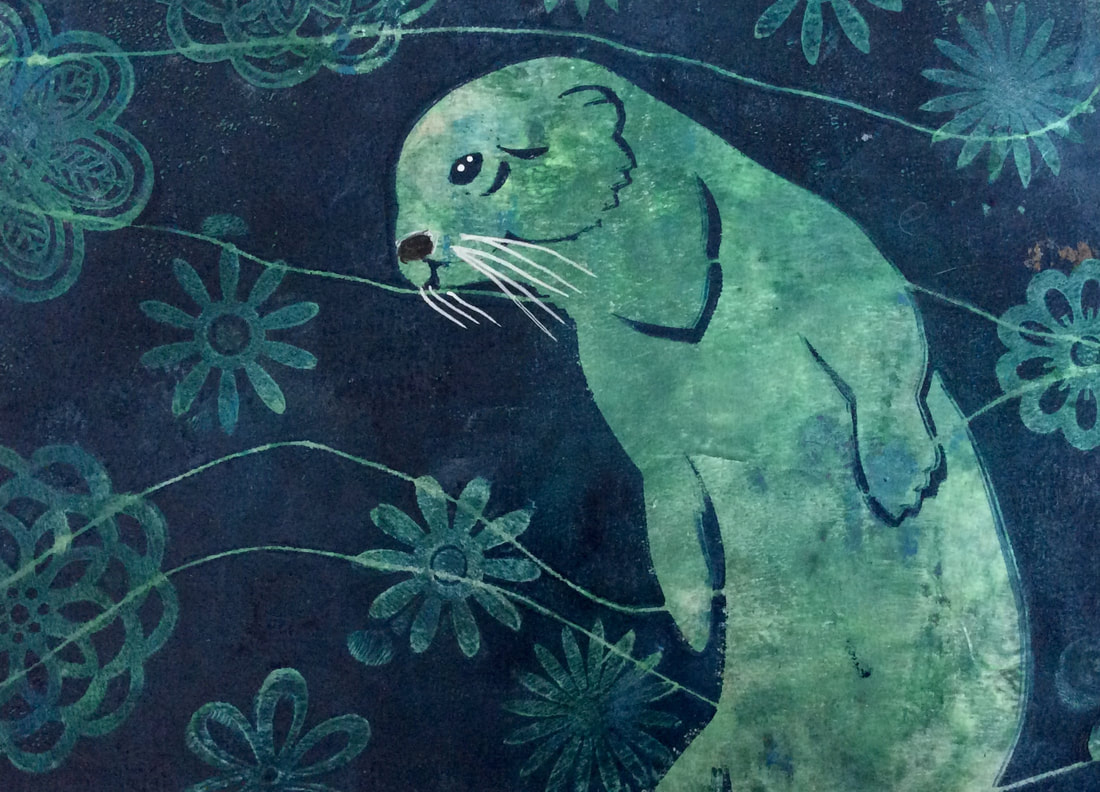
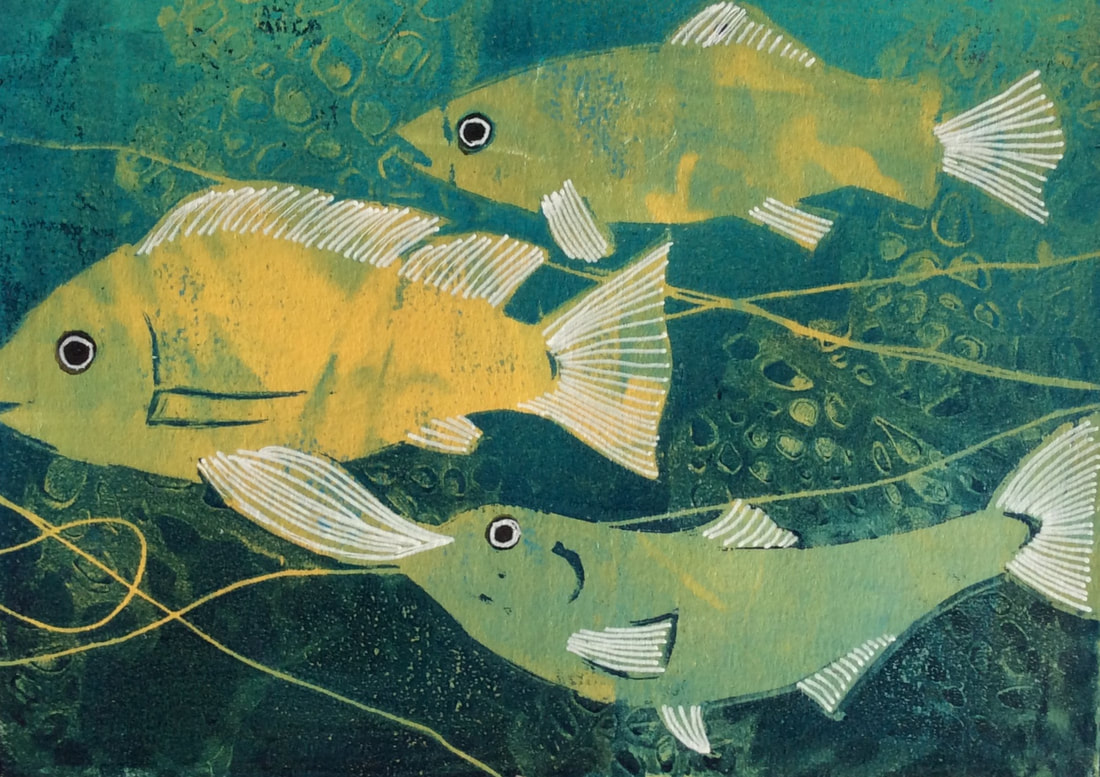
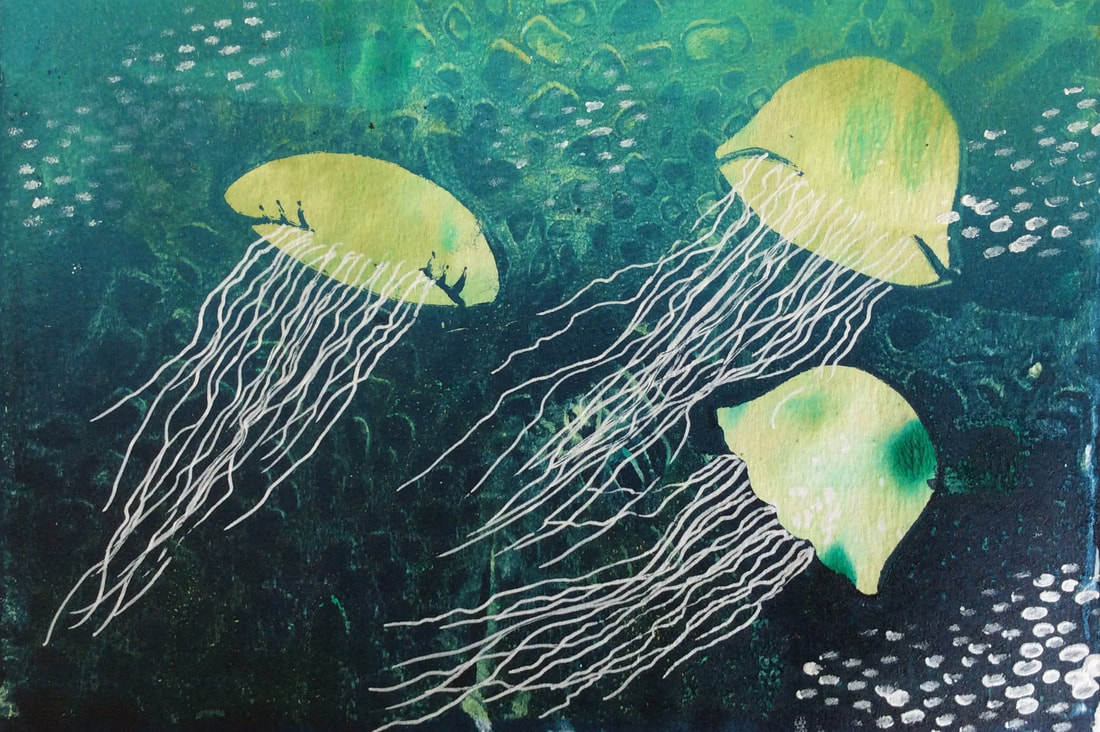
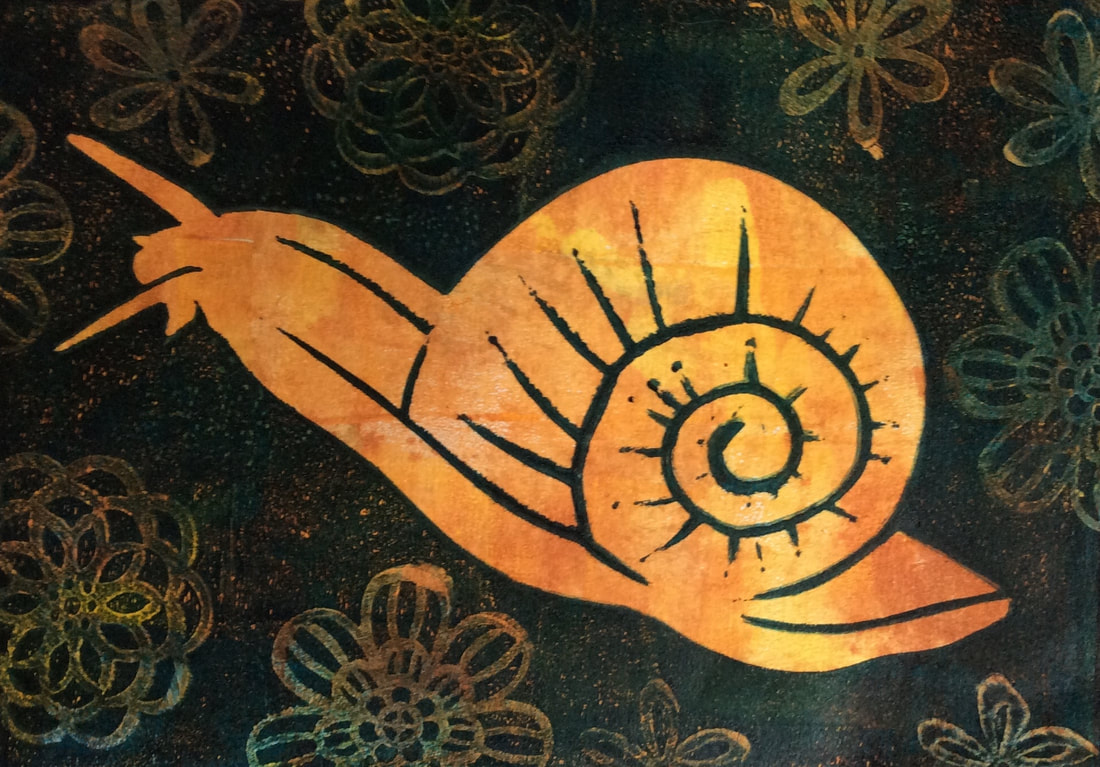
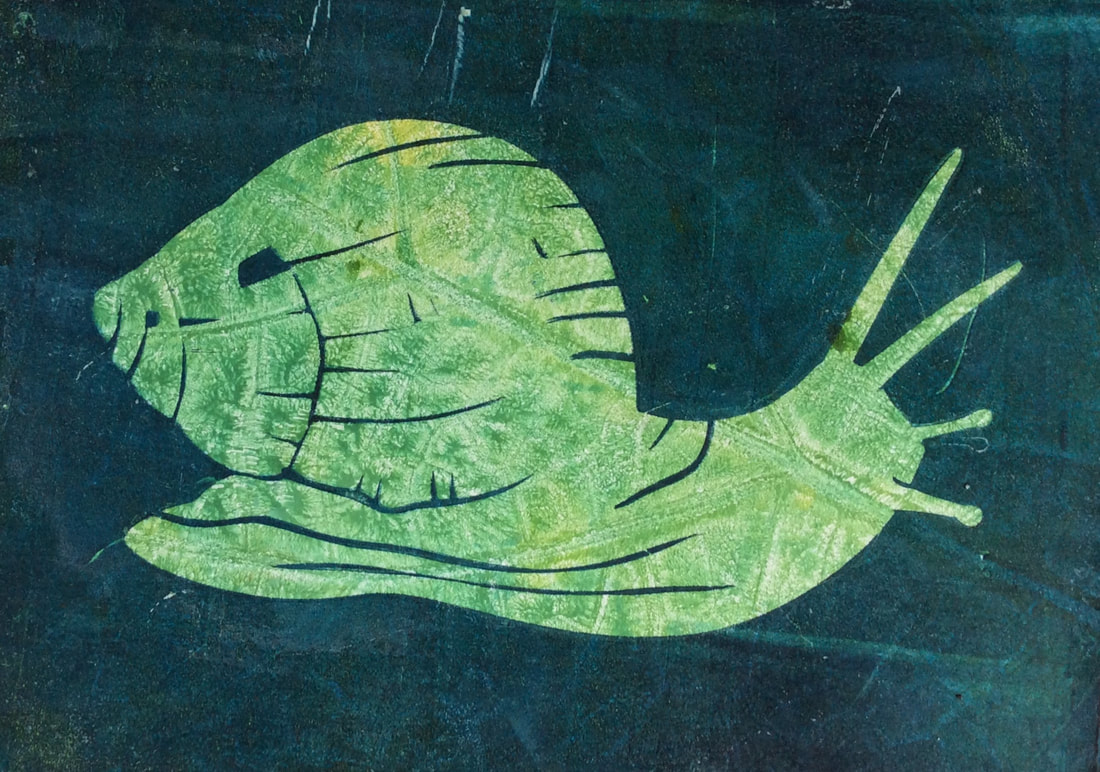
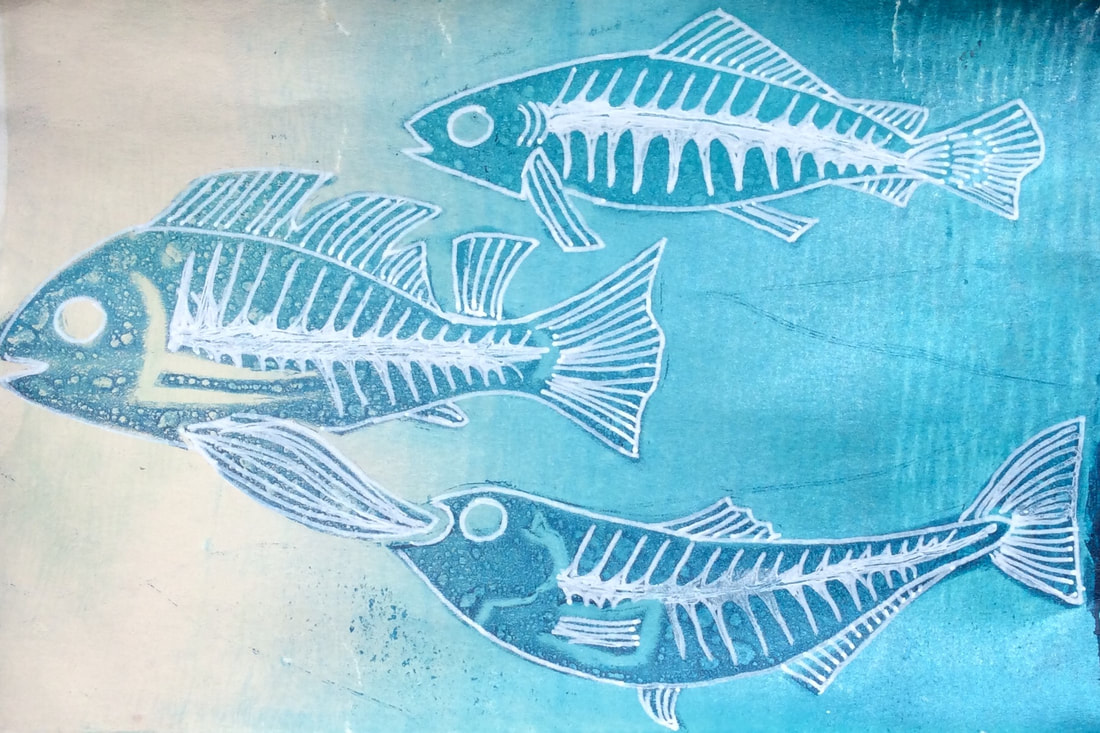
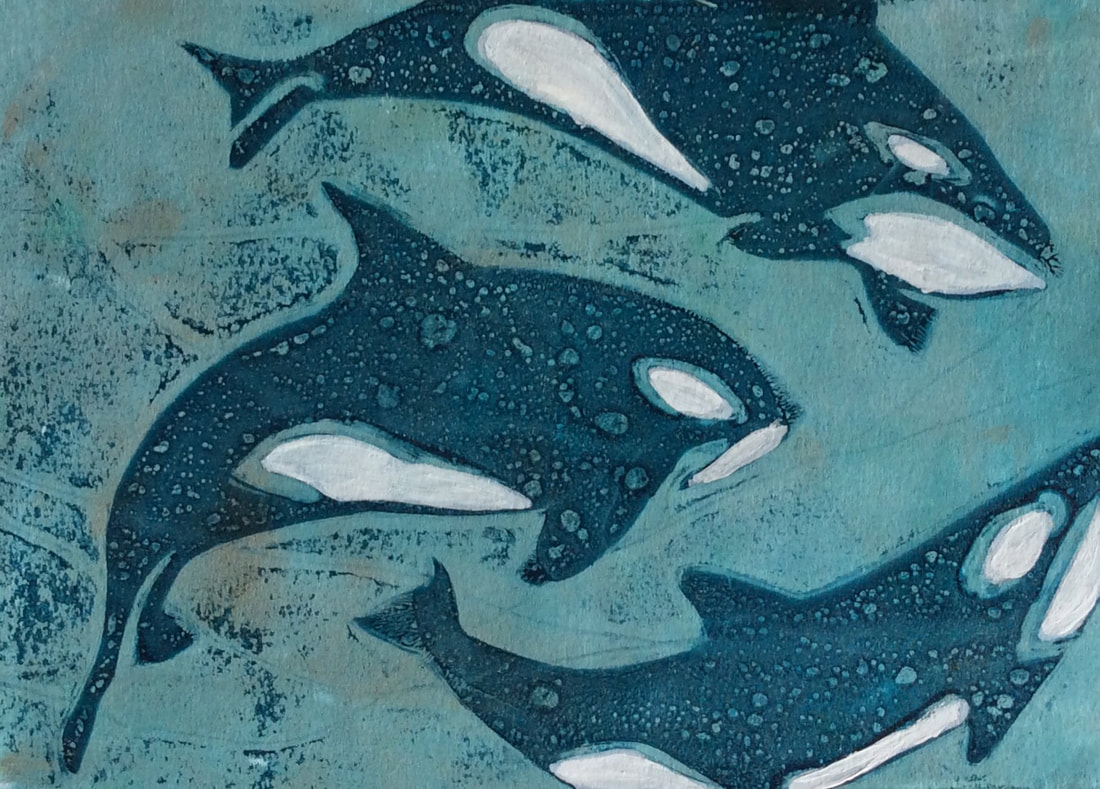
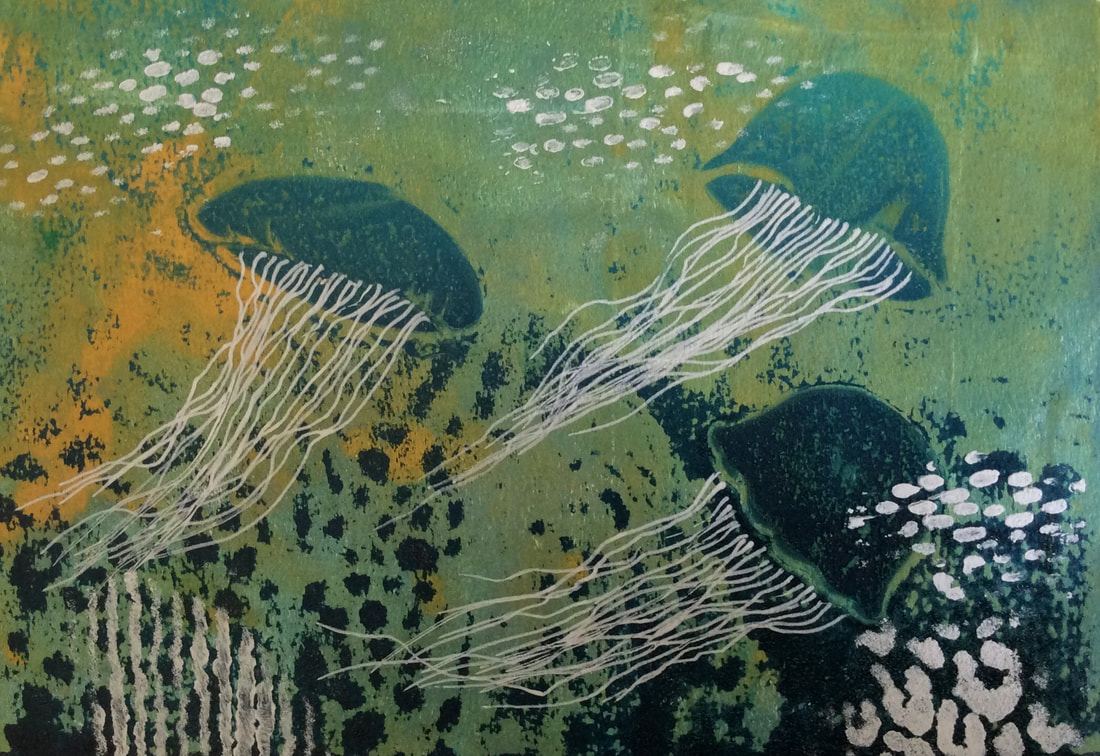
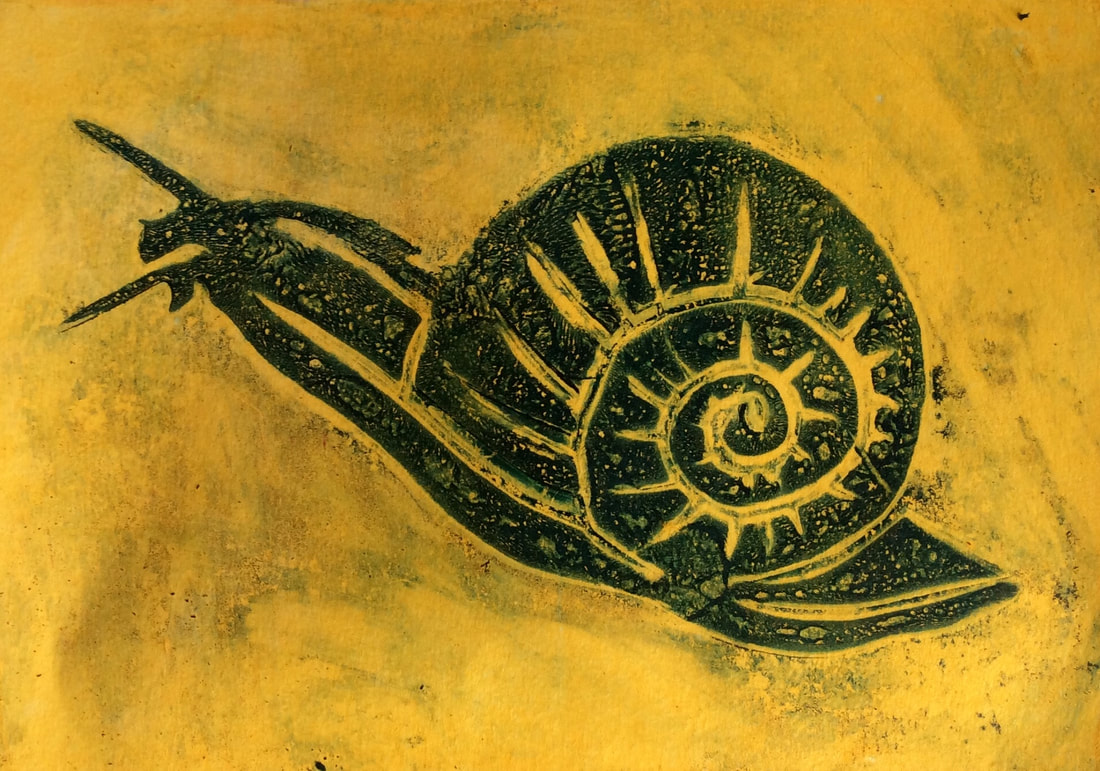
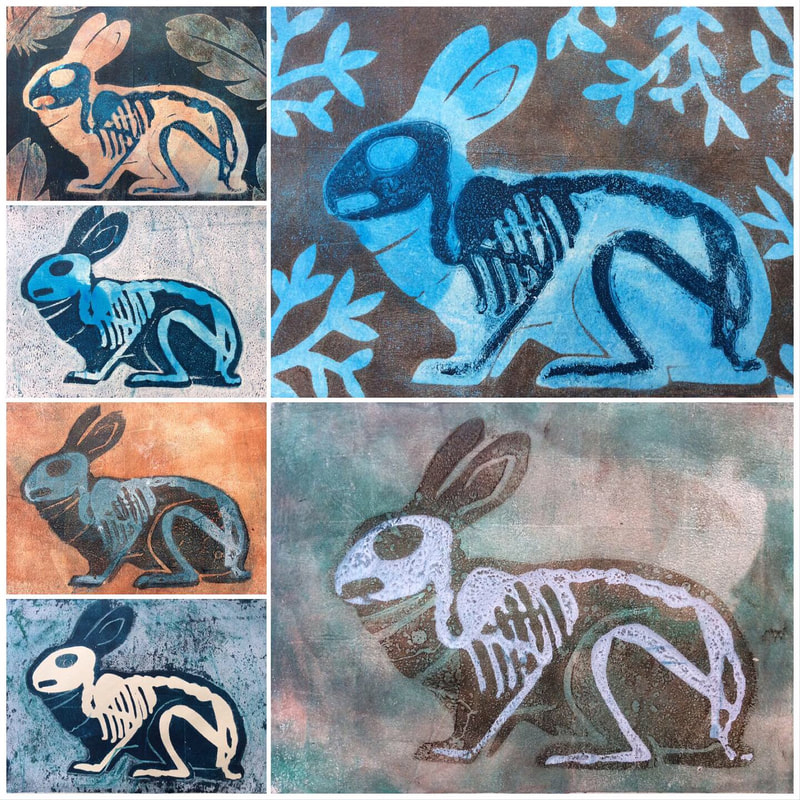
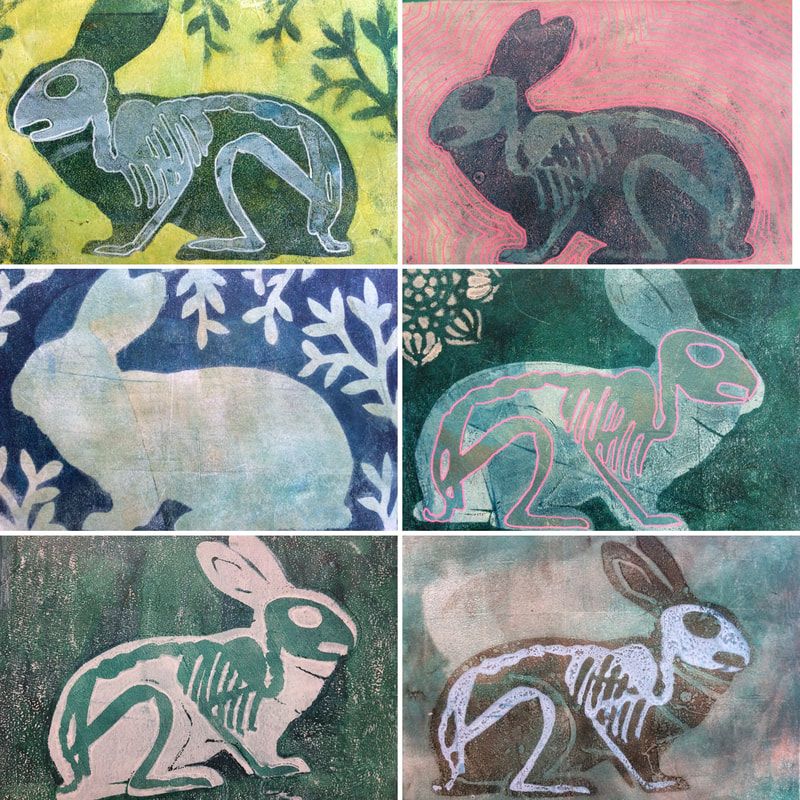
I broke out the gelli plate the other week and have been madly cutting stencils to create some fun gelli plate printed art. It is always a joy to use the gelli plate and see what different colours, techniques and materials will work best. Not every print is a winner but it sure if fun to pull back the paper and see what you get. I like to add in details with gel or paint pens or use stencils or stamps on top. I have bins of items I use when I gelli print. I keep anything that might have a cool pattern or shape. I make hot glue stencils, buy small wood scrap booking embellishments, carve erasures into stamps with a lino tool, keep bits of packaging material or pieces of nature, or anything else I can think of that might make a neat impression in the gelli. Block printing ink works best but I have been experimenting mostly with acrylic paint since I have very little block ink. It's so much fun.
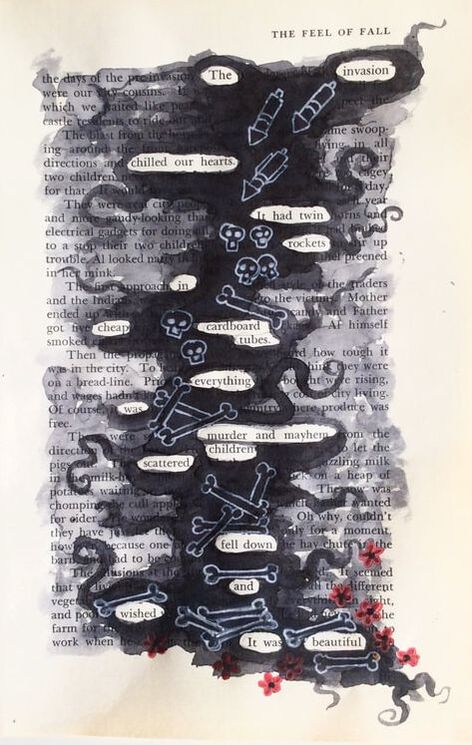
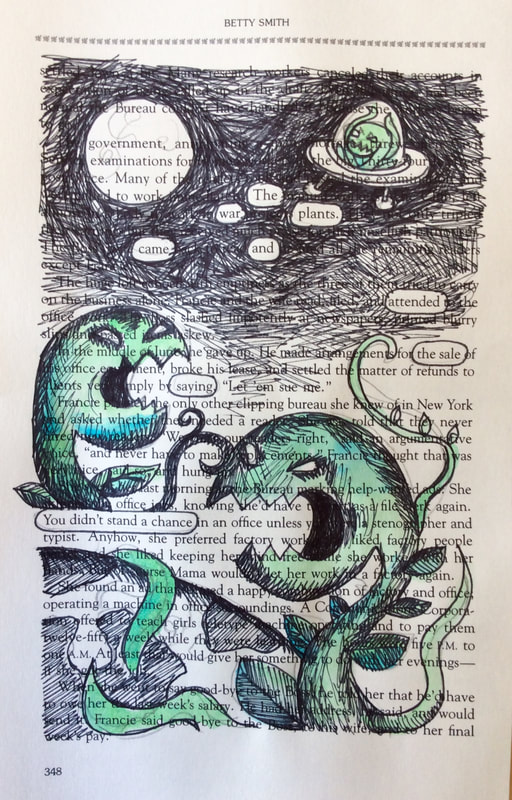
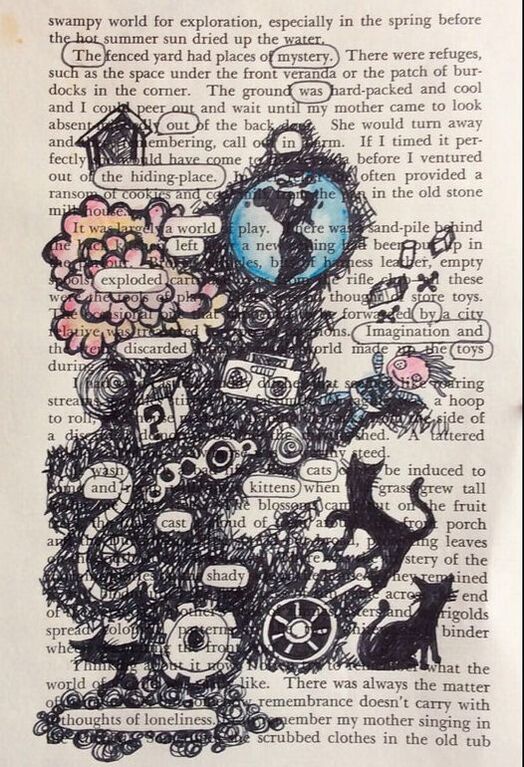
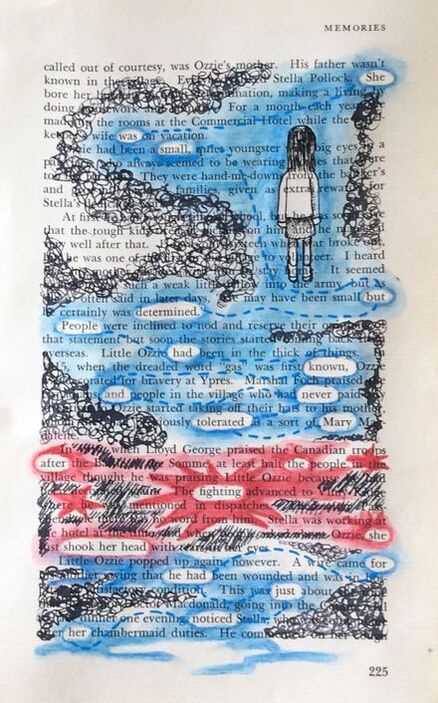
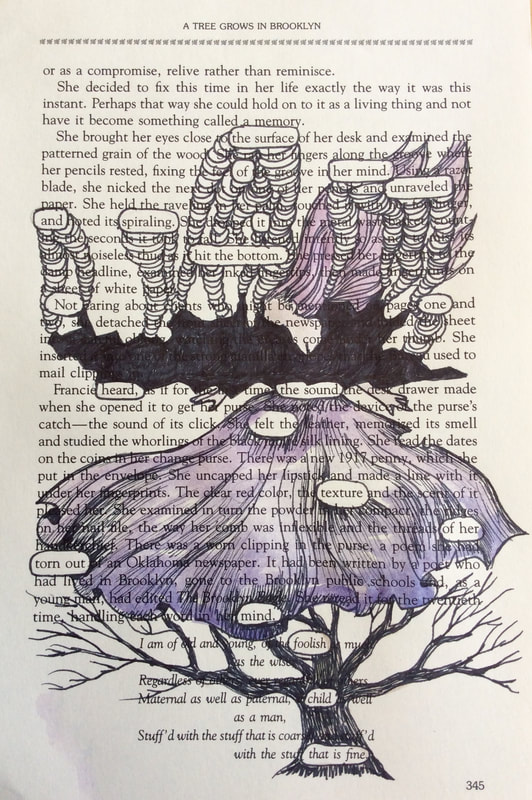
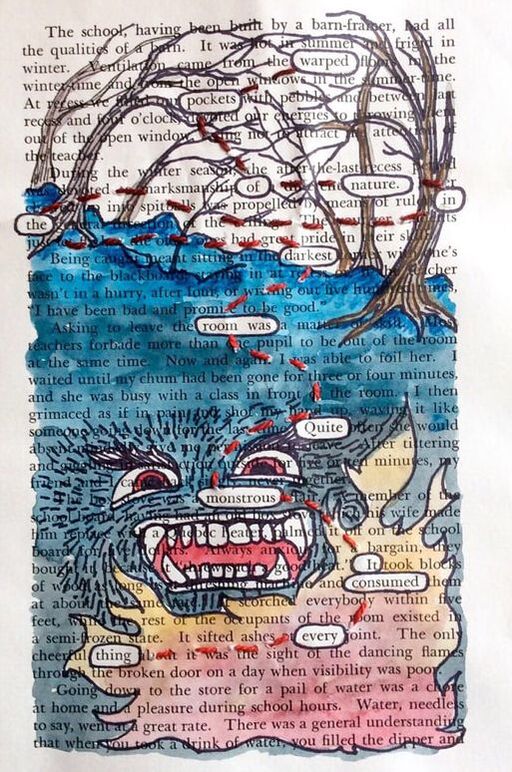
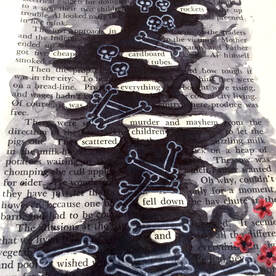 Blackout Poetry is one of my favorite things to do when I am stuck in a rut. It is the same thing I previously posted as Altered Pages as this style of art has many names. It is a fantastic way for anyone to find a different meaning within a given text. You start with a page from a novel. Then you look for words inside the text that create a poem of sorts. You circle those words and the draw/paint artwork around it. You can use whatever art style you like and use the images you add to help illustrate the found poem. I like to keep a few pages to work on here and there. Like a word search with no clues or correct answers, that you get to colour.
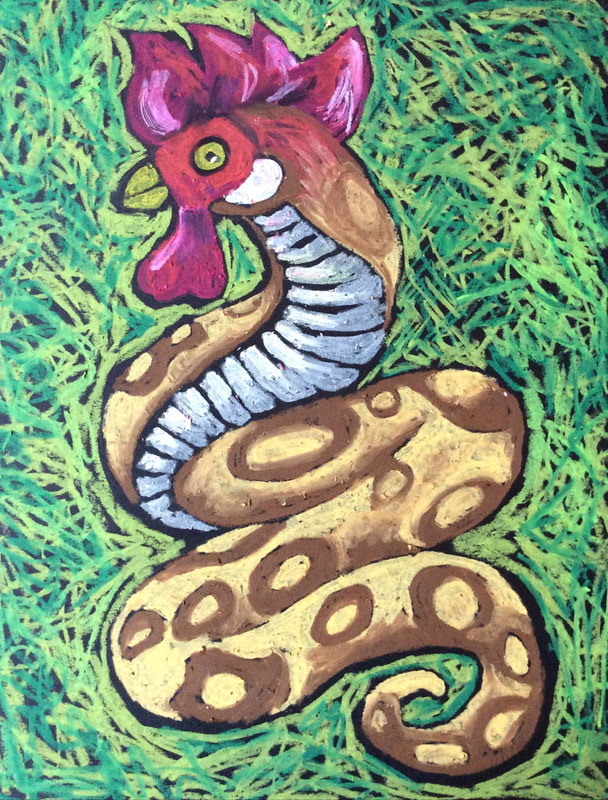
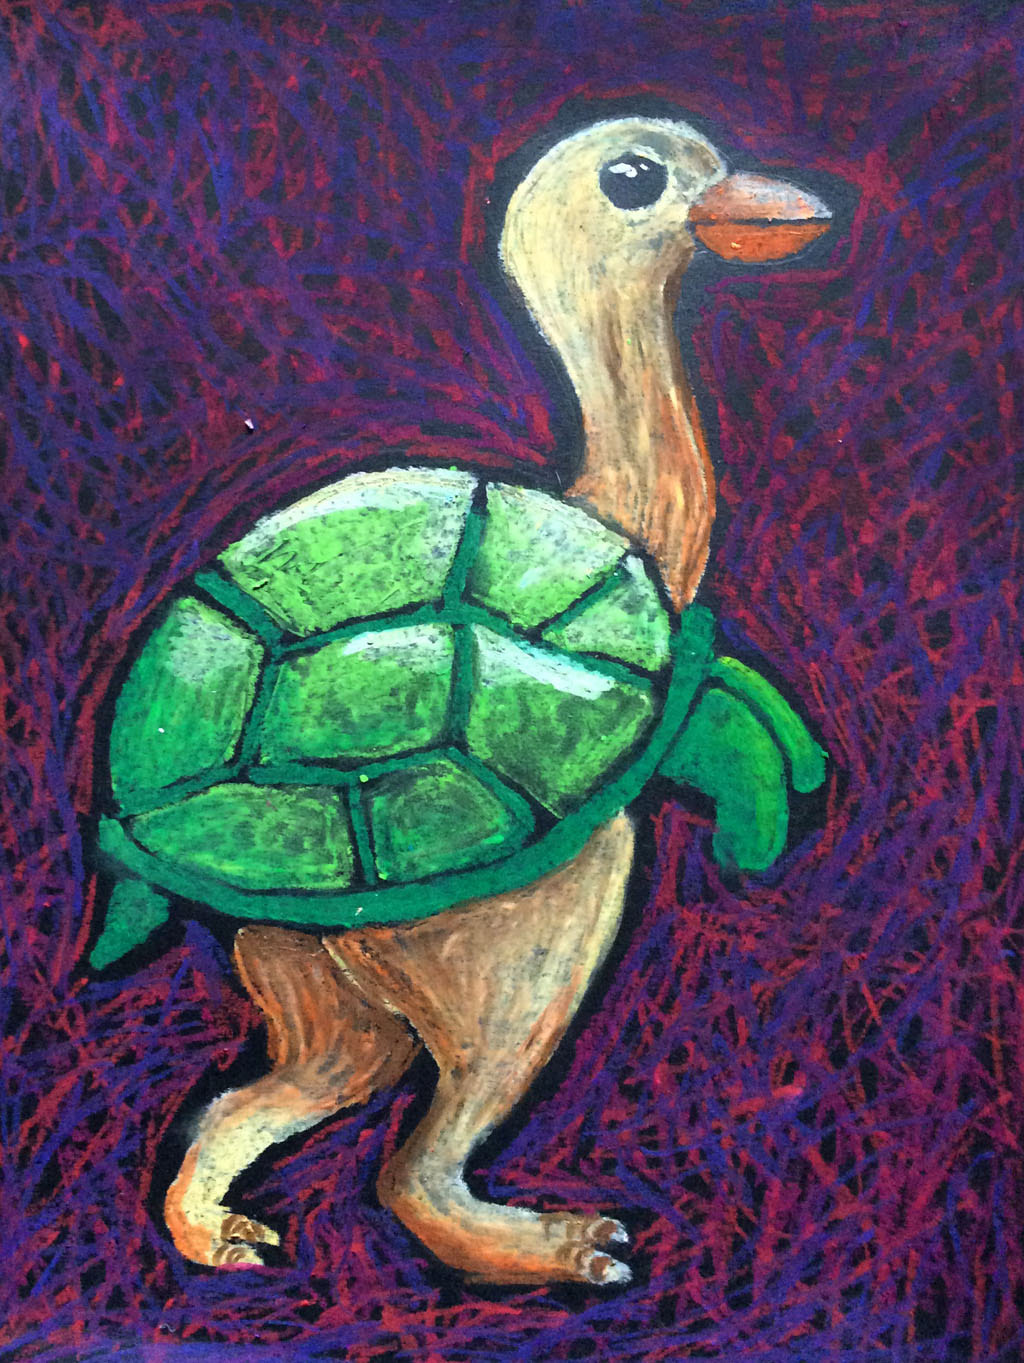
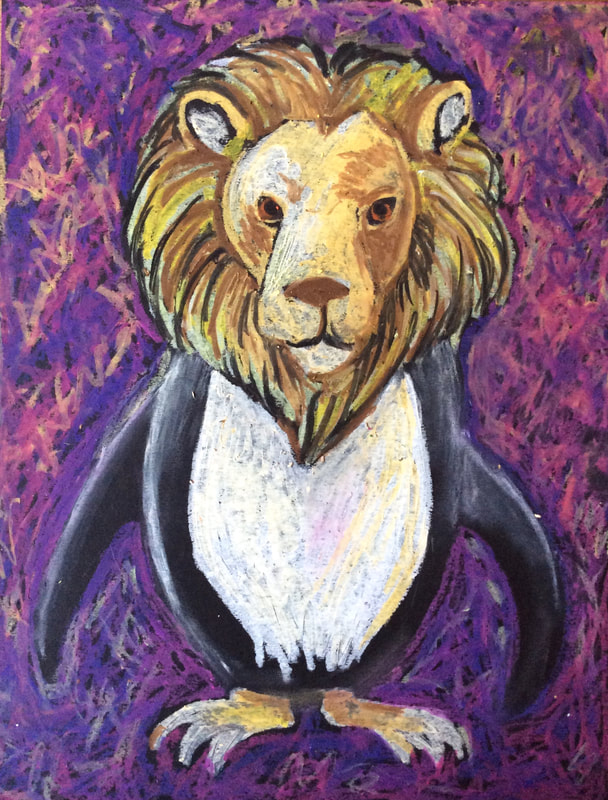
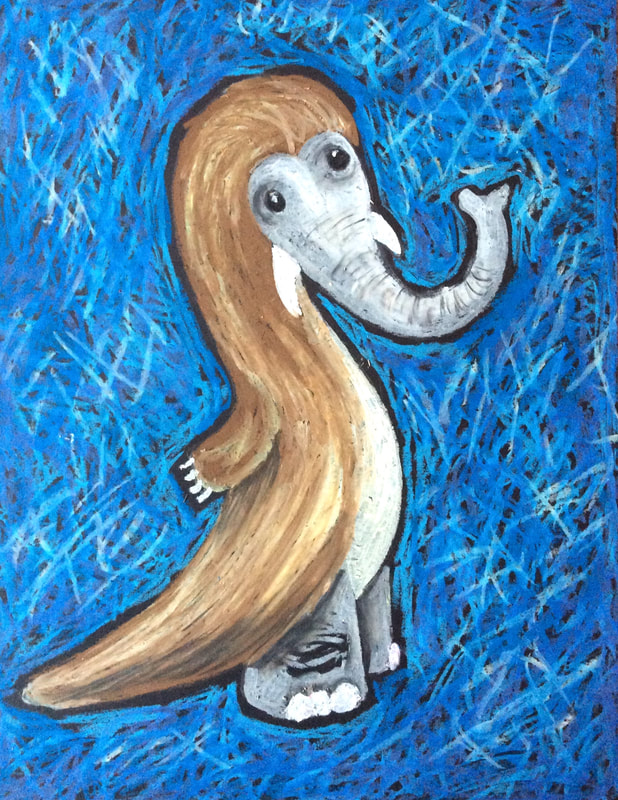
I love the challenge of drawing mixed up animals. I usually get the kids to give me to two animals and then I have to doodle up the mix. Then it's fun to write out as many name combinations as possible until I get one that I like. I have made pages and pages of doodles on this concept and often use it a a drawing challenge to help my class get creative. Behold the mighty Boaconrooster, the King of Antarctica a.k.a. the Penglion, the desert Ostrurtle and the giant river Otterphant.
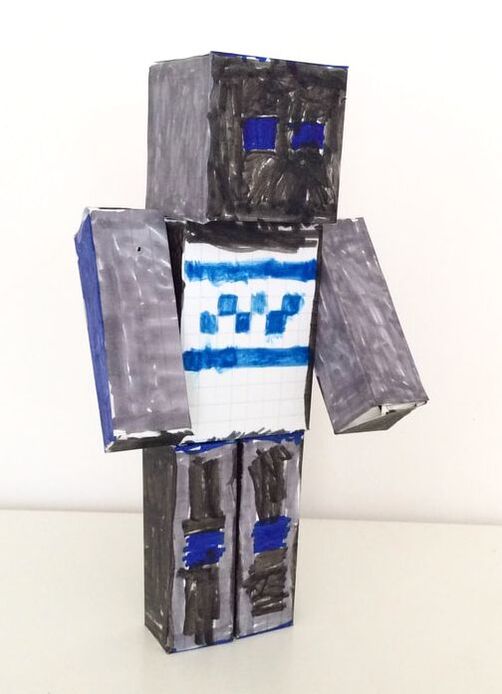
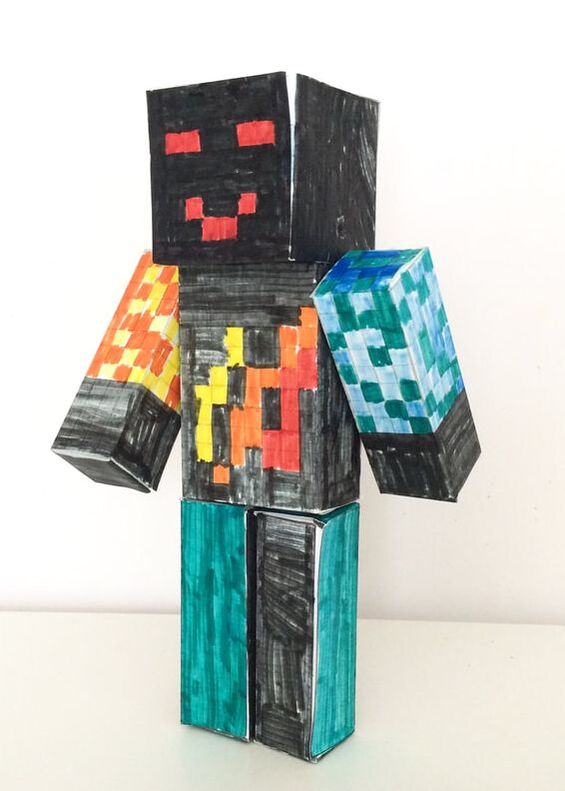
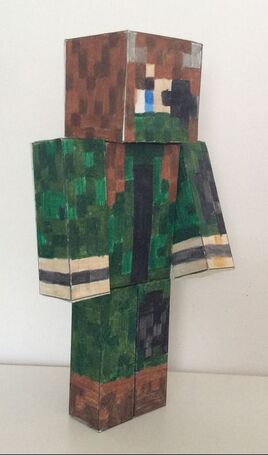 I was pulled back into the world of Minecraft again when I saw the kids using an online skin editor to make their own unique Minecraft skin. I thought how could we make something like this in the real world. Using my computer I designed a paper template in the correct proportions to a standard Minecraft character. From there I printed it out, folded and glued it to see if it would work. Once I had my template successfully built, I printed out several more and got the kids to use their personalized Minecraft characters and colour their paper characters out using markers or coloured pencils. We even used brads to make the arms movable. The kids love having a real world paper model of their own Minecraft skin.
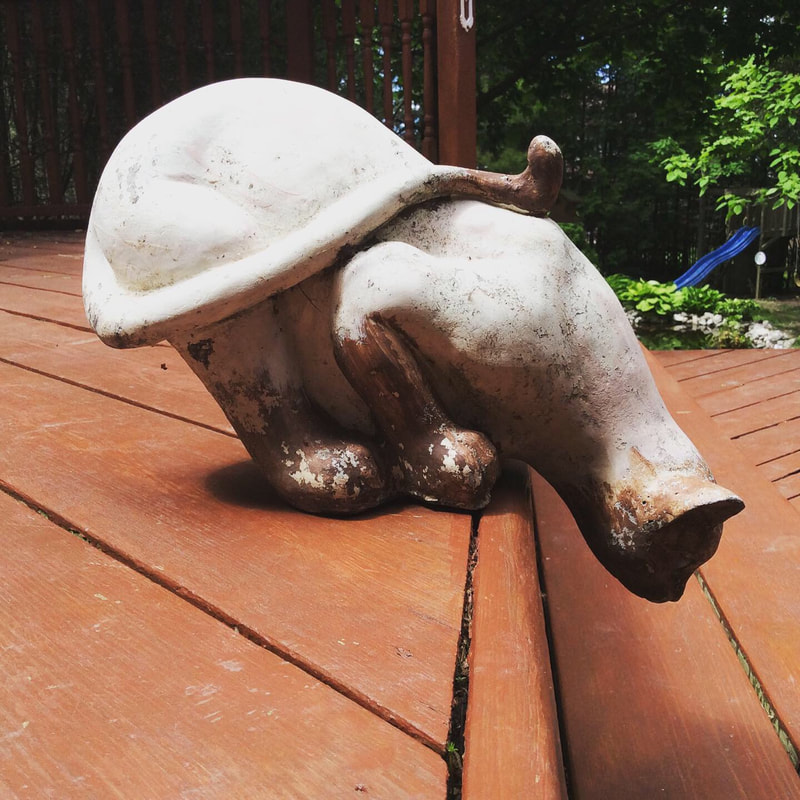
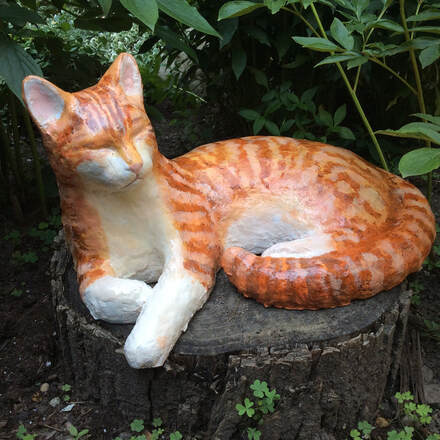 I have repaired and restored a few cat statues this past year. One was a statue given to me by a friend years ago upon the death of one of our cats. It has been in our garden for 10 years slowly crumbling away. I finally decided to make some paper clay to rebuild the parts that had crumbled and then repainted it to resembled the cat that we had lost. I found a great water sealant to keep both the paint and paper clay sealed tight against the rain and snow. It looks great and our memorial statue of our cat "Pyro" is back in the garden again.  The second job was on an old stone cat from my grandfathers house that had long since worn away its paint. I didn't have to do any real repair so I just sanded it down, painted it and sealed it for use in the garden. It has been returned to my parents house where it sits leaning over their pond.
It's been a lot of ordering online these days. So much packing materials to recycle or throw out....or make art? This foam insert was left over from something we had ordered and I just had to make it into something. With the addition of a juice can lid, some cereal cardboard, a bit of paint and some leftover yard and this guys was done. I think of him as my studio mascot.  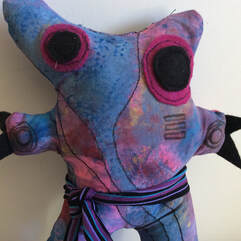 I tend to use a paint rag when I paint instead of a paper towel. After a while the paint rag is more paint that rag but they are sometimes so colourful I hate to throw them out or wash them. So why not make them into stuffies? I have made several paint rag stuffies and have even had my nephews make their own while teaching them how to use the sewing machine. Sometimes I add paint or stencil shapes on my stuffies. Sometimes I add accessories or felt features to them. Sometimes I draw on them with markers. Sometimes I stitch random lines or shapes into them. There really are no rules or limits except your imagination and the materials you have on hand. 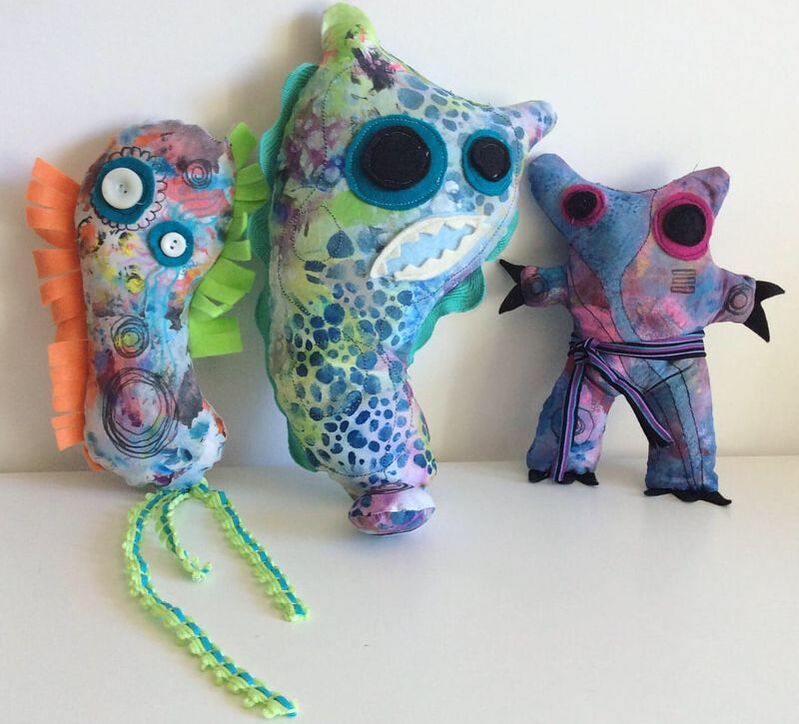  This guy was made by my 6 year old nephew Charlie. I let him paint a rag however he wanted and then add stencils on top. He then traced out a shape he liked and cut it out. I then showed him how to use the sewing machine to sew it, adding on arms and eyes. Lastly we stuffed it and closed it up. His name is Goofy Guy. He was so happy with how it turned out he made a second one. |
Jennifer MorrisonHere is a catalog of my creative adventures and experiments Categories
All
Archives
November 2022
|


 RSS Feed
Site powered by Weebly. Managed by Canadian web hosting from StormWeb